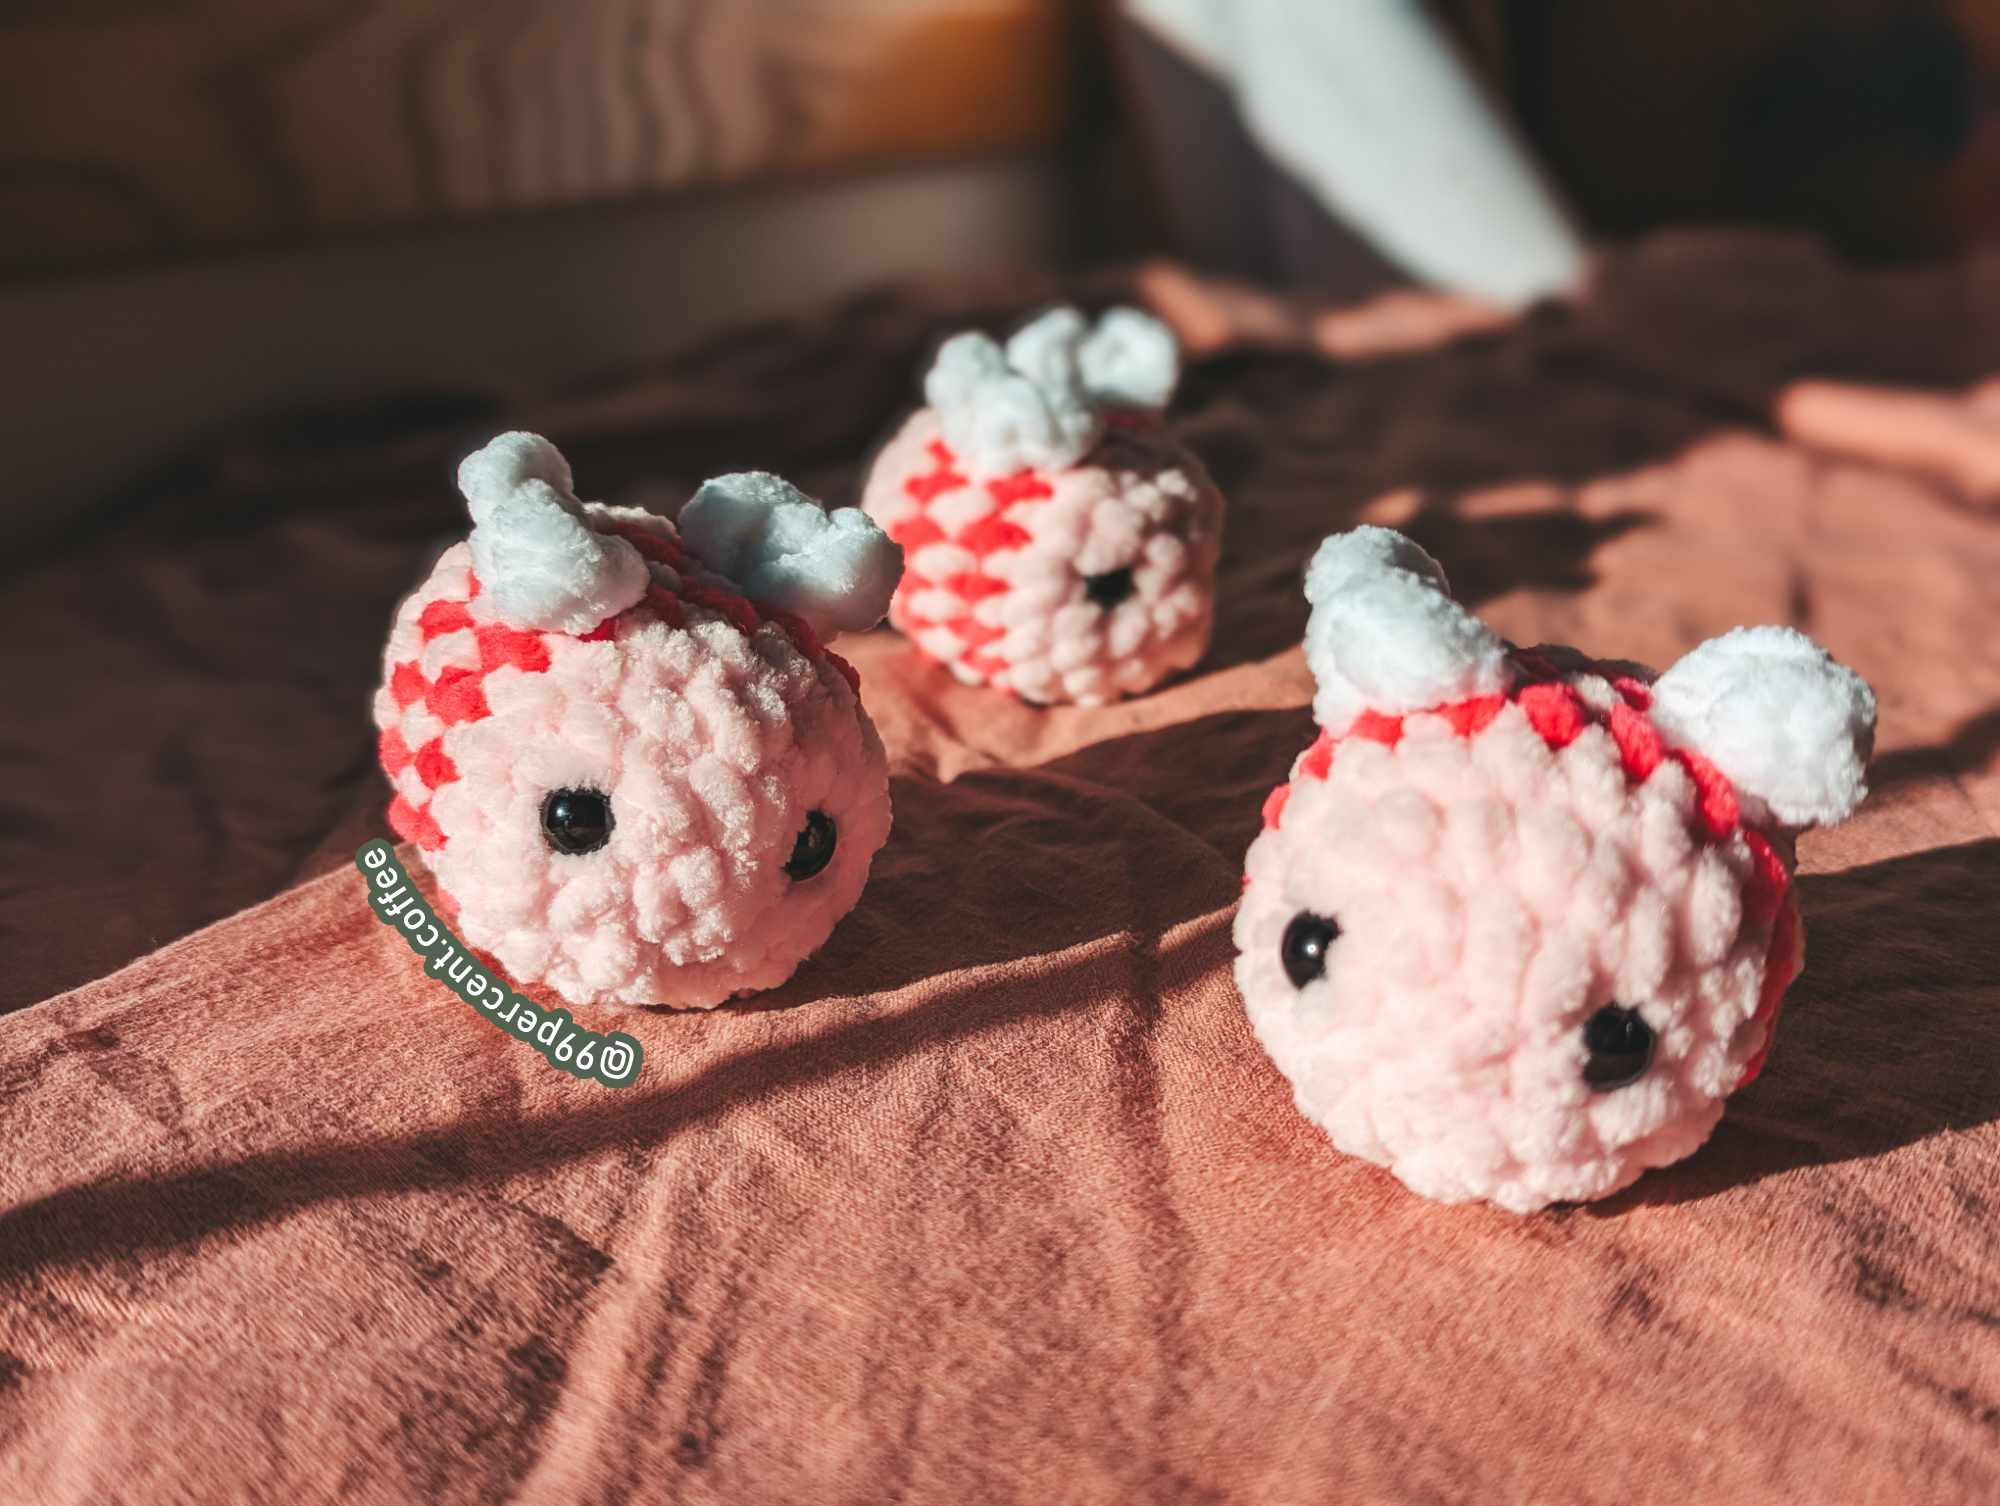
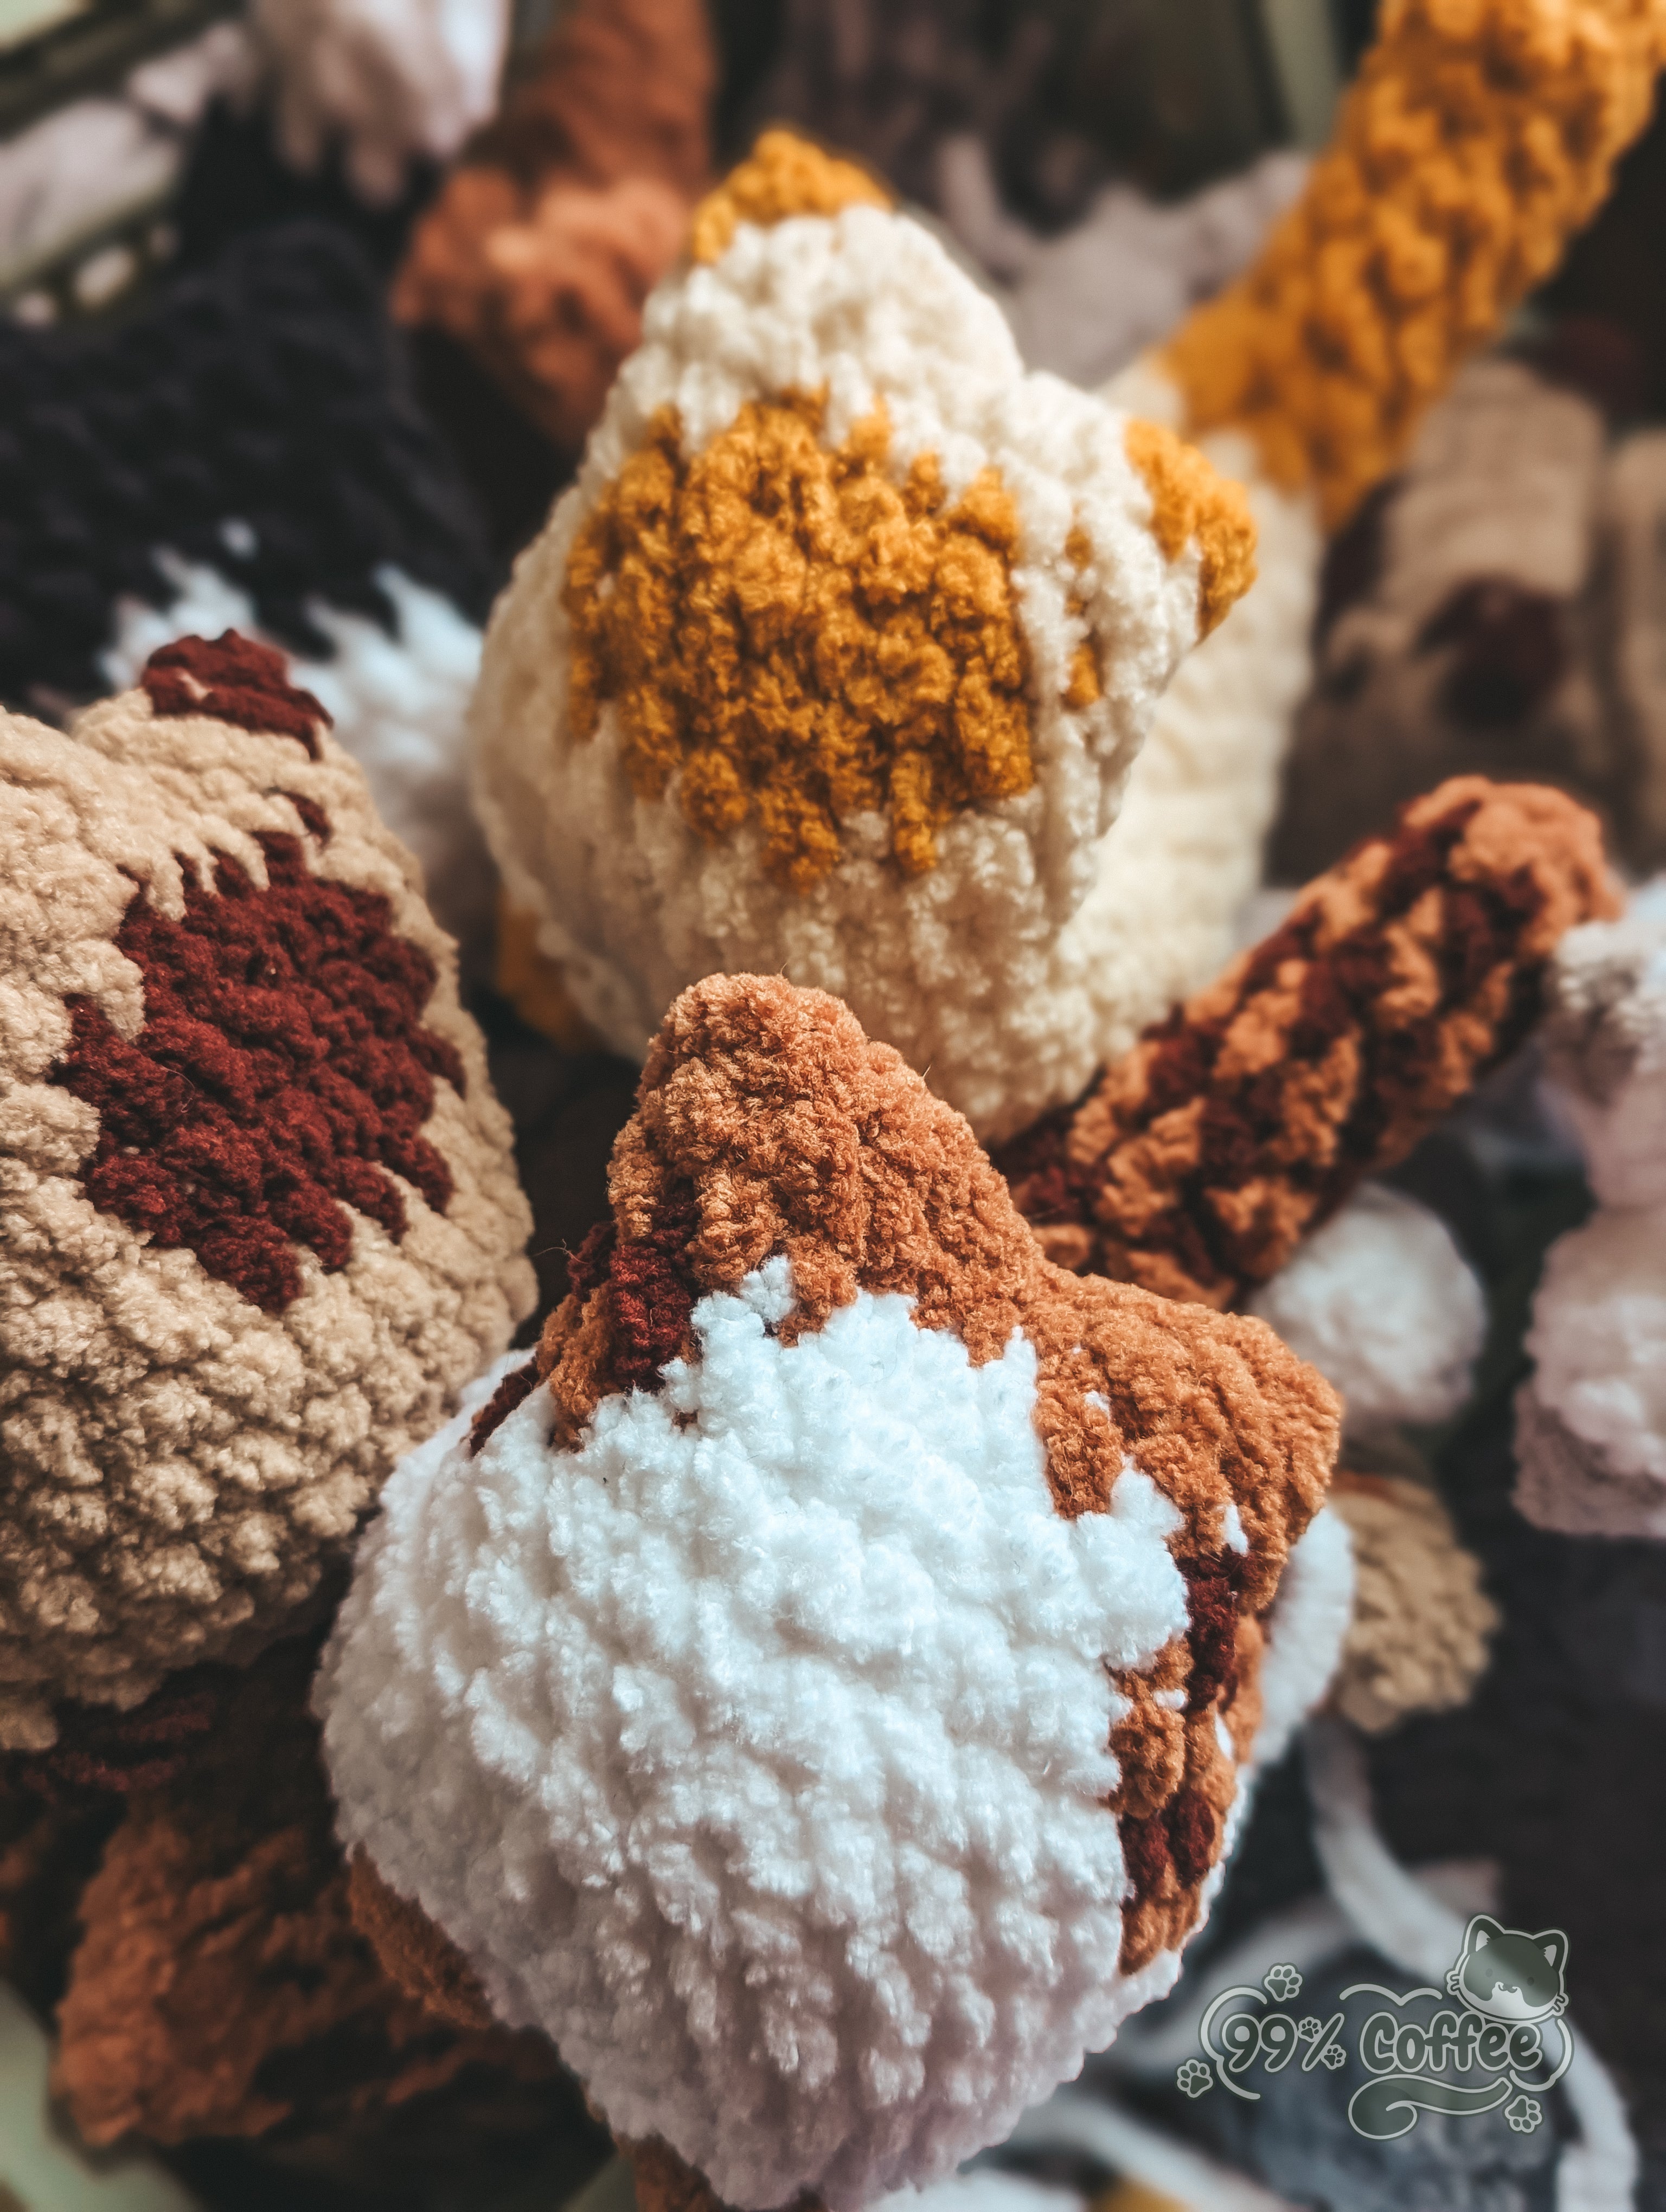
With Valentine's Day right around the corner - what better thing to make than a few love bees for those near to your heart?
These mini Valentine Bees are the perfect addition to a Valentine or even just as a standalone gift, and are the perfect size to put on a keychain to keep with you at all times!

This project is also a fantastic stash buster if you are just looking for something to use up some scraps with :) Play around with the colors - you might just be super surprised with whatever scrappy bee you get!
Materials
You will need the following materials for this crochet pattern:
- Bulky Size 5 Chenille yarn (3 colors), I used:
- Main Color: Parfait Chunky in Ballet Slipper (~10g)
- Contrasting Color: Parfait Chunky in Hibiscus (~8g)
- Wings: Parfait Chunky in White (~2 g)
- Polyfill (~2 grams)
- 8mm Black Safety Eyes (optional)
Tools
- US 4.5mm Crochet Hook (or preferred hook for your yarn)
- Tapestry Needle for weaving in ends
- Scissors
- Stitch markers (optional)
Pattern Notes
- This pattern is written in US Terms.
- It may be helpful to use a stitch marker to keep track of the first and/or last stitch of each round.
- Stitch markers will also be useful for marking stitches for the wings.
- I suggest using the Invisible Decrease technique on all decrease rounds! This will help keep the decreases a little bit less noticeable.
- I also suggest using the Yarn Under technique for tighter stitches.
- Stitch counts are shown in each round of the pattern.
- Rounds are color coded as shown in the materials above and abbreviation list below.
- This pattern does not show how to do specific stitch techniques, as such I would consider it an intermediate pattern. See below for specific stitch techniques you will need to know.
Stitch Techniques Used
- Chain
- Single Crochet
- Single Crochet Increase
- Single Crochet Decrease
- Double Crochet
- Slip Stitch
- Working through the post of a Stitch
- Magic Ring (You can use the Ch 2 method as a substitute if you would like)
Abbreviations
- MR: Magic Ring
- SC: Single Crochet
- INC: SC Increase
- DEC: SC Decrease
- MC: Main Color
-
CC: Contrasting Color
- St(s): Stitch(es)
Pattern
Start with MC
Round 1 (6 Sts): Create MR, 6 SC into MR.
Round 2 (12 Sts): *INC. Repeat from * until all stitches have been worked.
Round 3 (18 Sts): *1 SC, INC. Repeat from * until all stitches have been worked.
Round 4 (18 Sts): *SC. Repeat from * until all stitches have been worked.
Change to CC
Round 5 (18 Sts): *SC. Repeat from * until all stitches have been worked.
Change to MC
Round 6 (18 Sts): *SC. Repeat from * until all stitches have been worked.
Change to CC
Round 7 (18 Sts): *SC. Repeat from * until all stitches have been worked.
Cut CC here, using the tails of the beginning and end of the CC to tie together to secure on the inside of the bee.
Change to MC
Round 8 (18 Sts): *SC. Repeat from * until all stitches have been worked.
Insert Safety Eyes Here: Turn your bee so that the front (where the magic ring is) is facing you, and the color changes are visible on the bottom of the bee.

Insert safety eyes between rounds 2 and 3, with about 4-5 visible stitches between the eyes. I like to line up the eyes between about 3 stitches of the CC yarn on the top of the head in case I attach a keychain.
Stuff the body of your bee.
Round 9 (12 Sts): *1 SC, DEC. Repeat from * until all stitches have been worked.
Finish stuffing the body of the bee.
Round 10 (6 Sts): *DEC. Repeat from * until all stitches have been worked.
Fasten off and cut yarn, leaving a tail to weave in ends.
Use the 6 front loops of round 10 to close up your bee body. Weave in ends.
Start wings with white yarn
We will be working in the posts of round 6's SCs. This should be the main body color stripe row between the two contrasting color rows.

Hold your bee so that the eyes are facing you. Use your stitch markers to mark two evenly spaced posts of round 6 where the eyes are straight. I usually mark mine so there's 2-3 stitches between each wing, depending on how straight the eyes look.

Left Wing
Turn your bee so it's facing your left and the top of the bee is facing upwards. The obvious color changes should be on the bottom of the bee.

Insert your hook into the left marked post and out the other side of that stitch, attach yarn and pull through. Ch1.

The following instructions are continued by working into this same space:
DC, Ch 1, Sl St. Ch 1, DC, Ch 1, Sl St.
Fasten off
Right Wing (with white yarn)
Turn your bee so it's facing your right.

Insert your hook into the marked post and out the other side, attach yarn and pull through. Ch1.

The following instructions are continued by working into this same space:
DC, Ch 1, Sl St. Ch 1, DC, Ch 1, Sl St.

Fasten off and weave in ends.

Finishing Up your Love Bee
Be sure to weave in those ends and your bee is complete! You should now have an adorable little bee you can gift either by itself or add a keychain on and take it with you on the go!


Share:
Best Sellers of 2024 - Amigurumi Edition
Snoot the Triceratops - Free Crochet Pattern