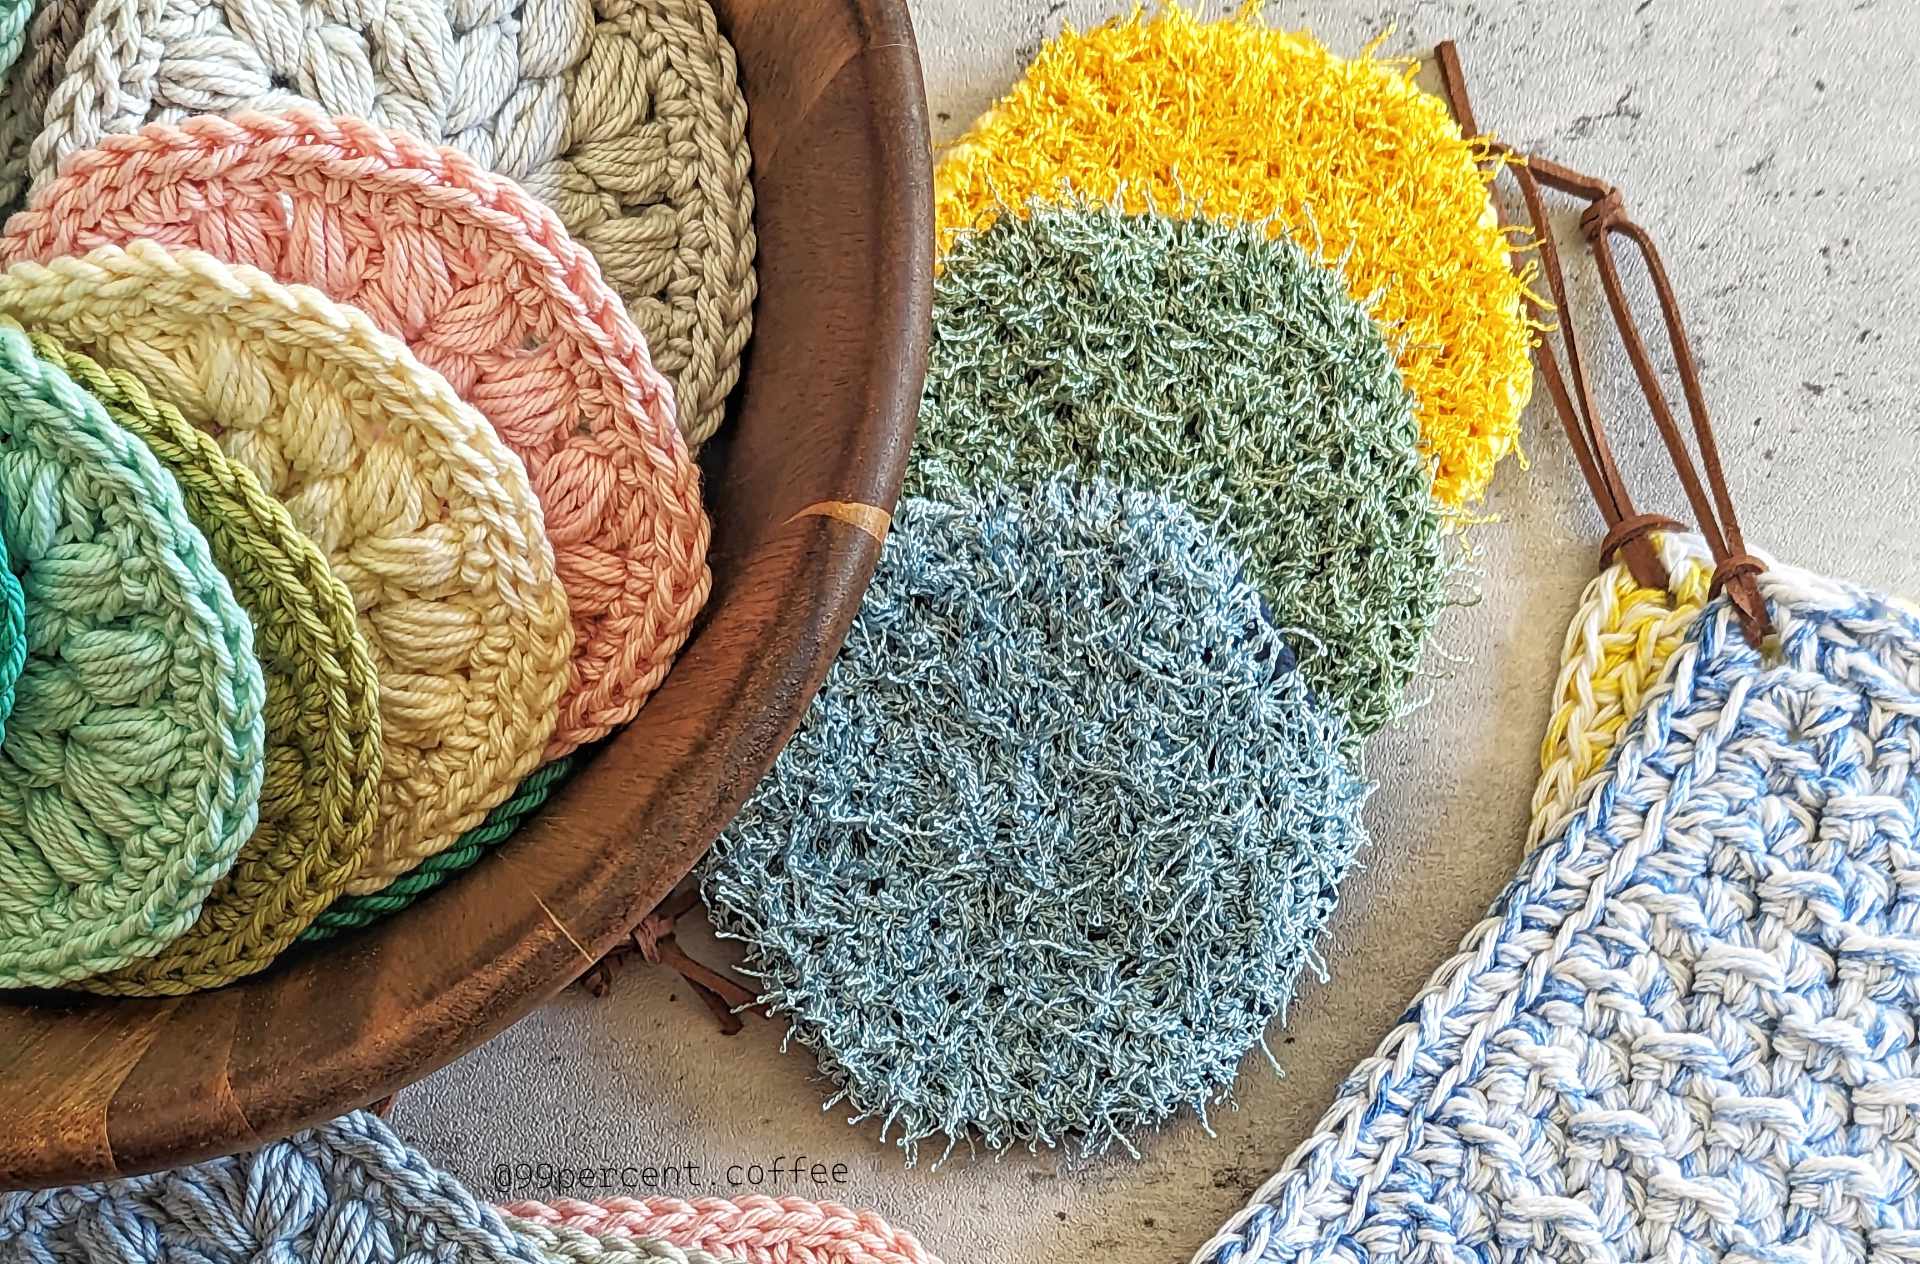
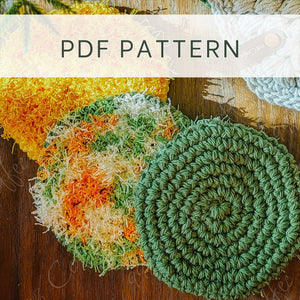
This seamless double-sided scrubby crochet pattern is made to be your new go-to scrubby pattern for an eco-friendly addition to your home!
It's no secret that I absolutely love making things for my kitchen - from potholders to coasters and dishcloths, I've made a ton. Nothing quite beats a 2-in-1 that packs a punch though!

I started making these scrubbies because I needed something that would work great with cleaning off my cast iron and stainless steel pans but also that would work well enough to clean my more delicate dishes.
And the best part? It's seamless! No sewing required! Using two different types of yarn in a continuous round, we use increase and decrease stitches to make the perfect scrubby for your home.
Pattern Notes
- Prior to beginning, please read through the pattern in its entirety!
- This is an intermediate pattern - see the skills needed below for information on what skills you will need.
- The final project will come out to be about 4.25" wide, 4.5" tall, and .5" in thickness.
- This pattern is written in US terms.
- All stitches are worked using both loops of each stitch.
- This project is done in a continuous round - this means that, instead of using slip stitches to finish a round and a chain 1 to start, you will continue working without closing off the last round.
- You will need 2 types of yarn - the first being a normal worsted weight cotton yarn while the second should be a "scrubby" yarn made specifically for making dish scrubbies. I used Lily Sugar'n Creme Cotton yarn for the first (Y1), and Red Heart Scrubby yarn for the second (Y2). However, any worsted weight cotton or scrubby yarn will be fine, though will likely alter the end result.
- When it comes to changing yarn, yarn should be changed over after completing the last stitch of a round.
- The scrubby yarn can be very difficult to work with at first - my best advice is to focus on the main line of yarn and completely ignore the offshoots. It may also help to work in a well-lit area with a light source behind the project to see your stitches better. I also use my fingers to locate the stitches when I'm having a difficult time seeing the stitches clearly.
- This pattern includes final stitch counts for each round, located within brackets ([]) at the beginning of each round's instructions.
Skills you will need:
- Creating a magic ring
- Decreasing with Single Crochets (SC2Tog)
- Knowledge of basic stitches: Chain, Single Crochet
- Changing yarn/colors
- General knowledge of working in the round
Abbreviations
- Y1: Yarn 1 (see notes above)
- Y2: Yarn 2 (see notes above)
- Ch: Chain
- St(s): Stitch(es)
- MR: Magic Ring
- SC: Single Crochet
- SC2Tog: Single Crochet 2 Together
Materials
- 1 Skein of Sugar 'n Cream Yarn (Y1)
- ~15-17 yards of yarn
- 1 Skein of Red Heart Scrubby Yarn (Y2)
- ~12-13 yards of yarn
- US I/5.5 mm Hook
- Locking Stitch Marker
- Scissors
- Tapestry Needle
Pattern
Starting with Y1...
Starting Round (Round 1): Create MR, create 6 SC inside of the MR. Pull ring closed.
Round 2 [6 Sts]: 2 SC into first St. Insert locking stitch marker into the first St of the round to mark the beginning of the round. Continue 2 SC into each St until you reach the marker.
Get the Ad-Free PDF of this Pattern
Support my work by purchasing the ad-free PDF version of this pattern! With your purchase, you'll receive:
- The Ad-Free PDF version of the Seamless Scrubby Crochet Pattern
- Instant Digital Download on your chosen platform
- The Pattern written in U.S. Terms Only
- Pattern Support with Savannah via e-mail for any questions
Just want the free version? No problem, just keep scrolling!
Round 3 [12 Sts]: *2 SC, 1 SC into next St, removing and replacing the St marker at the beginning of the round. Repeat from * until end of round.
Hereafter, I will not explicitly state to move the stitch marker - this should be done at the beginning of each round.
Round 4 [18 Sts]: *2 SC, 1 SC into next 2 Sts. Repeat from * until end of the round.
Round 5 [24 Sts]: *2 SC, 1 SC into next 3 Sts. Repeat from * until end of the round.
Round 6 [36 Sts]: *2 SC, 1 SC into next 4 Sts. Repeat from * until end of the round.
Round 7 [42 Sts]: *2 SC, 1 SC into next 5 Sts. Repeat from * until end of the round.
Round 8 [42 Sts]: SC throughout all Sts.
Cut Y1, leaving about 3-4" of a tail. Change to Y2.
Round 9 [42 Sts]: SC throughout all Sts.
Round 10 [36 Sts]: *SC2Tog, 1 SC into next 5 Sts. Repeat from * until end of round.
Round 11 [30 Sts]: *SC2Tog, 1 SC into next 4 Sts. Repeat from * until end of round.
At this point, at the join between rounds 8 and 9, find the two strands of yarn (ending tail of Y1 and beginning tail of Y2) and double knot the 2 strands together. Weave in ends or cut to about 1/2". These strands, if left loose, should end up on the inside of the scrubby.
Do not cut or weave in the center of the magic ring just yet, we will need this later.
Flip the project so that the right side of the single crochet rounds are facing outwards - the wrong side should be inside the work (at this point, it should look like a short bowl of sorts).
Round 12 [24 Sts]: *SC2Tog, 1 SC into next 3 Sts. Repeat from * until end of round.
Round 13 [18 Sts]: *SC2Tog, 1 SC into next 2 Sts. Repeat from * until end of round.
Round 14 [12 Sts]: *SC2Tog, 1 SC into next 1 Sts. Repeat from * until end of round.
Ensure the magic ring from round is closed tight. Pull the beginning tail from the magic ring through the middle of your work and through the scrubby (Y2) side of your work. Complete round 15, maneuvering the tail from the magic ring around to keep it from being tangled. We will need this tail after round 15 is complete.
Round 15: [6 Sts] *SC2Tog. Repeat from * until end of round.
Cut Y2, leaving about a 5" tail and pull Y2 through the last St. Thread Y2 through your tapestry needle and insert the needle through each of the remaining 6 Sts. Pull the tail of Y2 tight to close the project, ensuring the tail from Y1 is still pulled through the center of your work on the scrubby side of your work.
Remove tapestry needle and double knot both the Y1 and Y2 ends of the scrubby together, as tight and close to the scrubby as possible. This will keep your scrubby flat and sturdy through dish washing, laundry cycles, and just about anything you can throw at it.
Once your knots are secure, weave in the ends - I suggest using your tapestry needle to poke your Y1 through the scrubby and weave in on the Y1 side and weave in your Y2 end on the Y2 side.
Once you are satisfied with your ends, cut remainders of the tails.

Your scrubby is complete!

Share:
Lavender Fields - Free Keychain Pattern
Photographing your Work - On a Budget: The Beginning of a Series