Finishing off a crochet project is always a great feeling - slip stitch into that first stitch, cut the yarn, and weave in the ends.
What if there was a better way to do this though? A cleaner technique to make it more seamless?
The Invisible Slip Stitch Finish
The invisible slip stitch finish is a favorite technique of mine - especially when working in the round. Instead of slip stitching into that first stitch of your round and weaving ends, you will instead be reaching for a tapestry needle for a quick sew fix!
This technique works for all sorts of projects, but just to name a few...
- Granny squares
- In-the-round coasters
- Blanket borders
- Detail edging in garments
Steps to complete the Invisible Slip Stitch Finish
Setup: Finish last stitch and pull yarn through
Finish your last stitch of the round and cut, leaving a tail for weaving in ends. With your hook, pull the yarn all the way through. Thread this tail end through a tapestry needle.
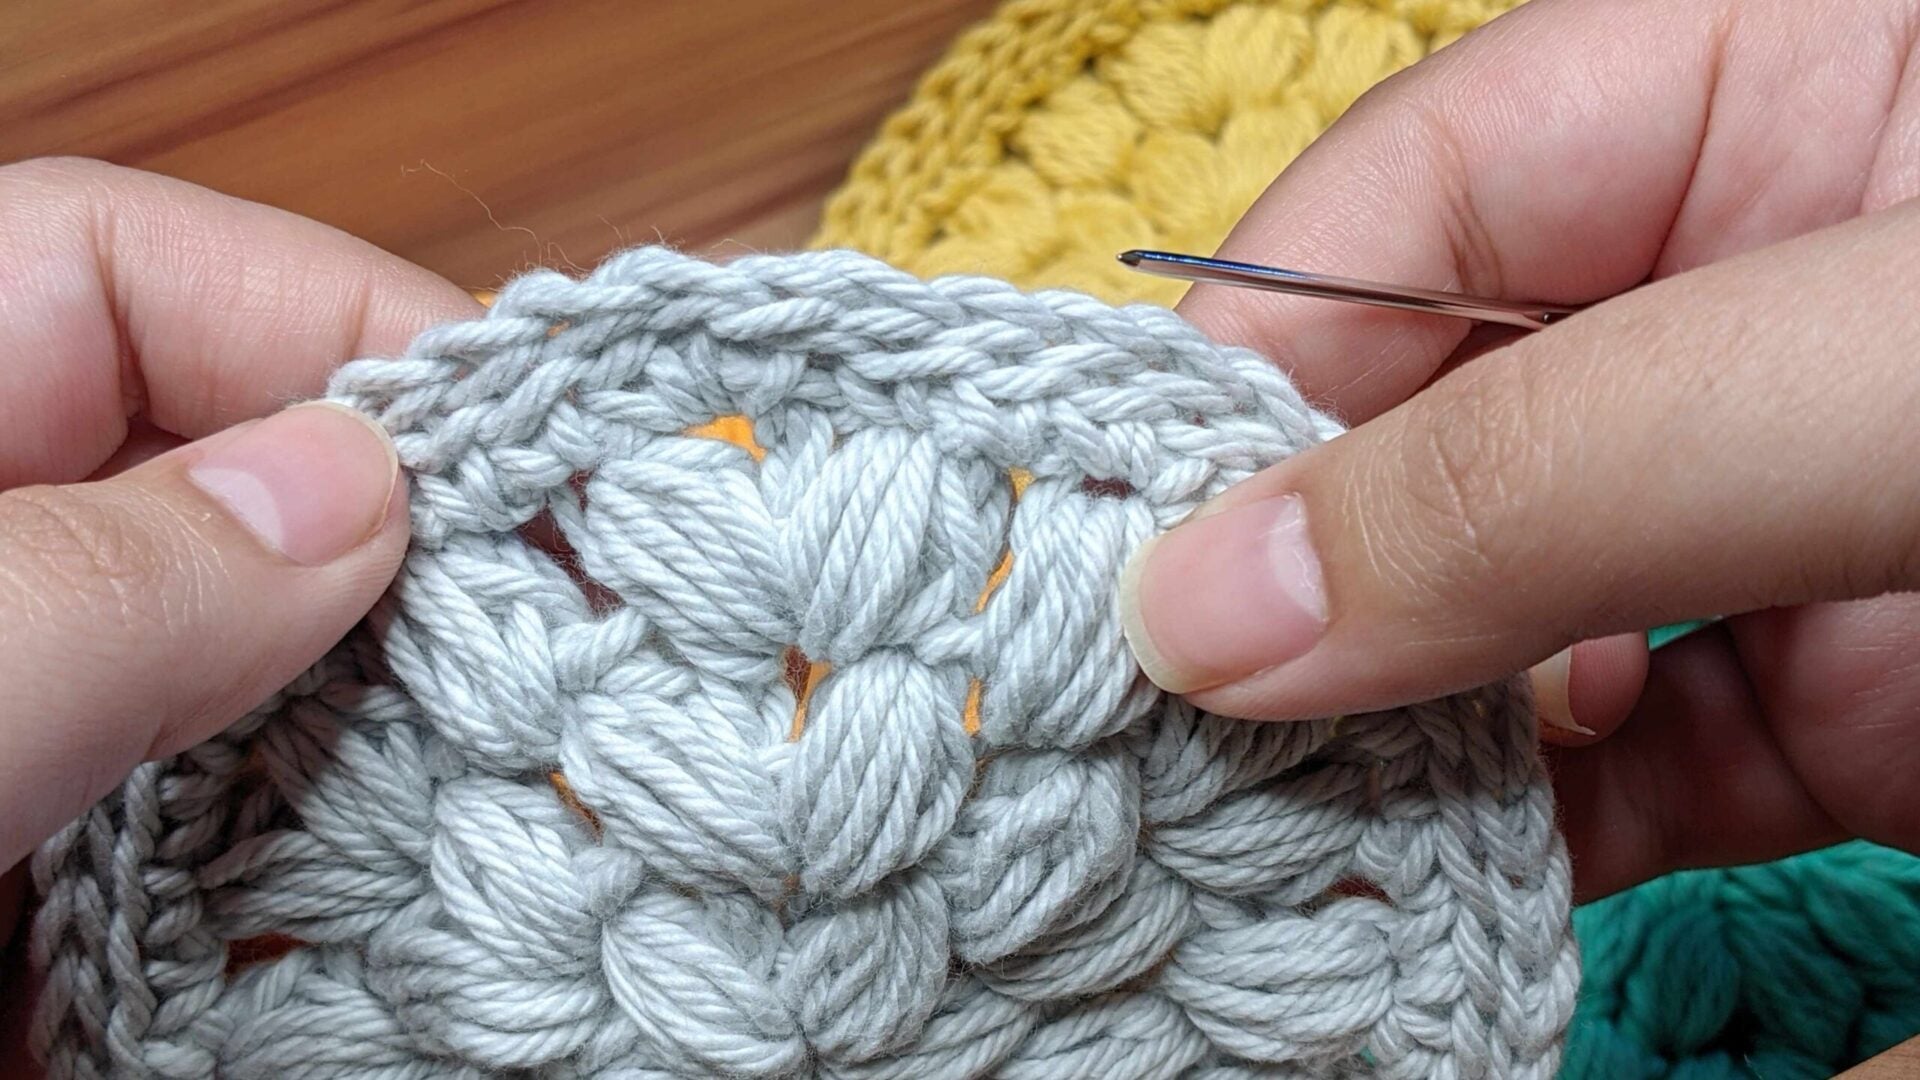
Step 1: Insert tapestry needle through both top bars of the first stitch of the round
If you're having a hard time finding this, think of your needle as your hook - insert your hook through the same part of your stitch that you normally would insert your hook.

Step 2: Insert your needle through the middle of the last stitch of the round
Pull yarn and bring the needle back around to your last stitch of the round. Insert your needle through the middle of the last stitch you worked of the round.

Step 3: Pull to close and weave in ends
After pulling the stitch closed, adjust the end of the yarn to make sure the invisible slip stitch is about as even as the rest of the slip stitches around your project. Weave in ends.

That's all there really is to it! This super simple technique is one that I use in almost all of my projects - but one that really makes my Fancy Puff Coasters look really finished off and clean!
What projects do you think you'll use this technique with?
Until next time!


Share:
Kitchen Projects You Can Crochet in Under an Hour
Best Sellers of 2024 - Amigurumi Edition